

Once you have a basic dam and pond that you are happy with , the next step is to create snapshots showing the base grid, the grid plus the empty dam, and then finally the dam full of water. To do this we’re going to use some of the tools in Muk3D and Tex to incorporate aerial imagery, fix a camera position (so that all snapshot images are taken from the same location), and save the various screenshots.Clear everything from graphics (View/Clear graphics) and load the base grid created earlier.
To save a snapshot of the surface, you can either use your favourite screen capture software, or the following command in Muk3D View >> Copy screencap to clipboard.
This command will save an image of the 3D window to the clipboard, making it easy to paste it into presentation software or a word processing document. An image of the 3D window can also be saved to the Working Directory using View >> Save image.
To make our surface look real before taking snap shots we can easily overlay georeferenced airphotos of our site.
In the Imagery directory (this will be a top level directory in the Project Explorer), there are files called prh.png and prh.pgw. This is a georeferenced air photo, and you can drag and drop the PGW file into the 3D window, where you will then be prompted to select a surface to apply the air photo to (i.e. the base grid).
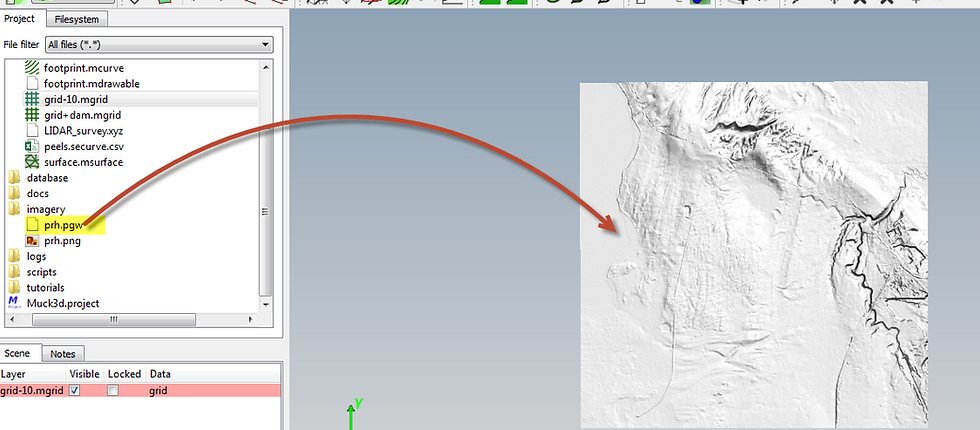
If you drag the PNG file instead of the PGW file, Muk3D will take that image and tile it as a texture over the surface, and does not produce the desired imagery.

